Unlike other Content Management Systems, Shopify has their own language for building templates, known as liquid template files. It uses tags to perform for loops and if statements, and jQuery to perform dynamic functions. For more information, refer to the official Shopify documentation.
* The following instruction is based on ‘Split’ theme and require some programming knowledge.
By default, the filter, add to cart and search buttons on Shopify is on the header menu. It is really hard to spot them unless you are very observant or shop on Shopify websites a lot. If your shop sells many products, it will really piss the customers off if they need to flip through the entire website to find what they are looking for.
To enable the filter function, you will need to log in to your backend and enable it under the ‘Collections’ tab.

When you click the filter icon on the header, a sidebar will popup on the right like below:
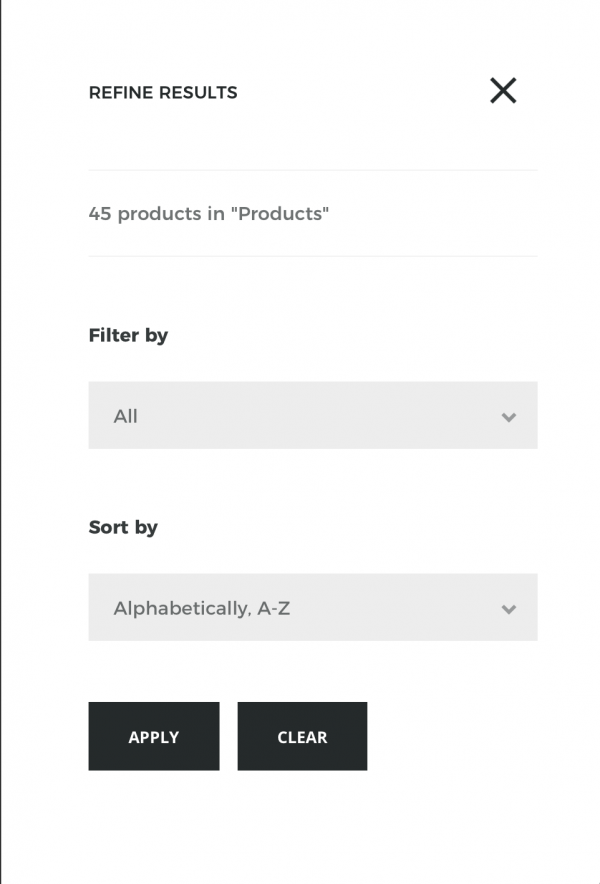
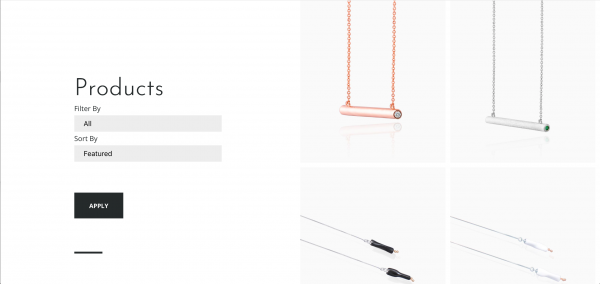
The easiest method to put the form in a more obvious spot is to copy them from your template files. In my opinion, I think the most obvious spot to put the form is under the page title.
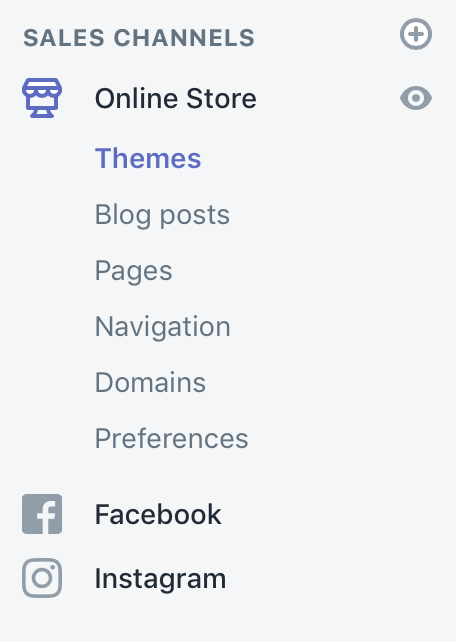
To do this, login to your Shopify backend, under Sales Channels, click Online Store.
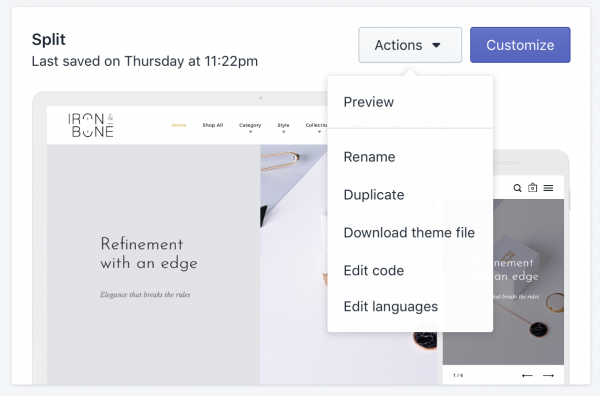
Then in the main content area, click on Actions, then Edit Code.
The heading can be found under Sections -> collections.liquid. You can add the new code under the h1 tags. You can add some comments when adding the customisation so you will remember the next time you access the code, like
Then, you can copy the code from Snippets -> sidebar_content-filters.liquid, and change the class names. I have copied the form, within the <div class=”top”> tags. I have also deleted the clear button because I thought it is not necessary.
However, you will realise the buttons won’t work if you just copy the code like that. To save time, I have created my own Javascript snippet and at them to the end of Layout -> theme.liquid like below:
That’s it. You can also add the form to other sections if you wish 🙂
